
5-1.リソースフォルダの作成
戻る
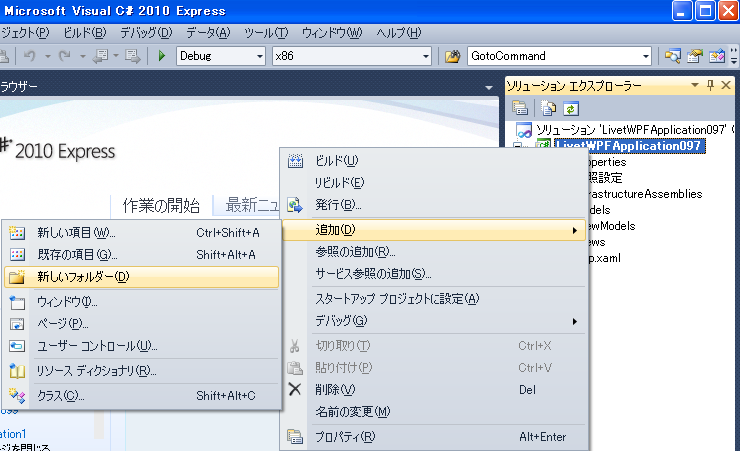
リソースエックスプローラーのプロジェクトを右クリックでショートカットメニューを表示して、「追加」-「新しいフォルダー」を選択します。
「NewFolder1」という名前のフォルダーが出来ました。
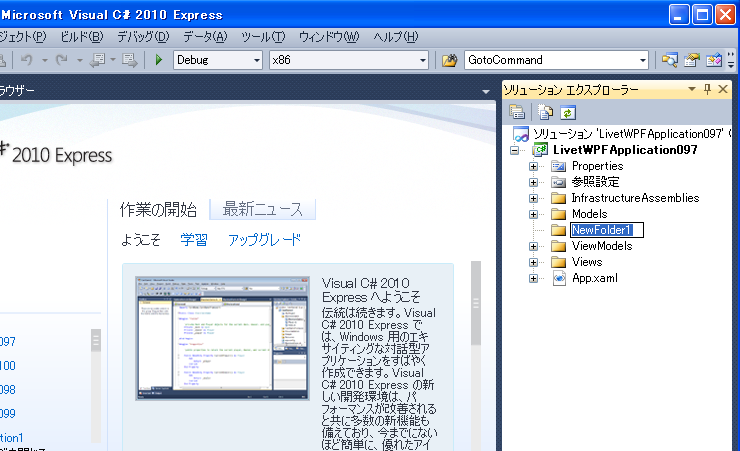
「NewFolder1」という名前を「Resources」に変えます。

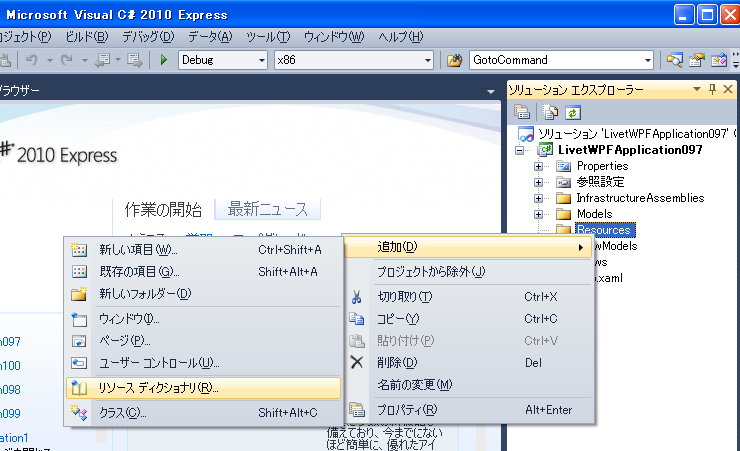
「Resources」を右クリックでショートカットメニューを表示して、「追加」-「リソース ディクショナリ」を選択します。
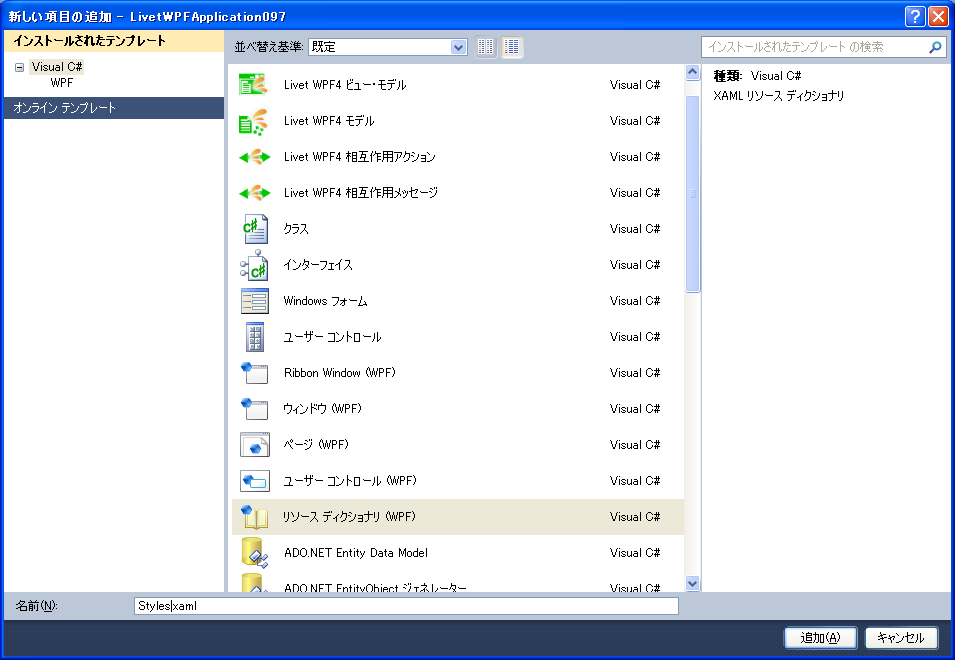
下のファイル名を「Styles.xaml」に変えて「追加」をクリックします。
空のリソース ディクショナリが出来ました。
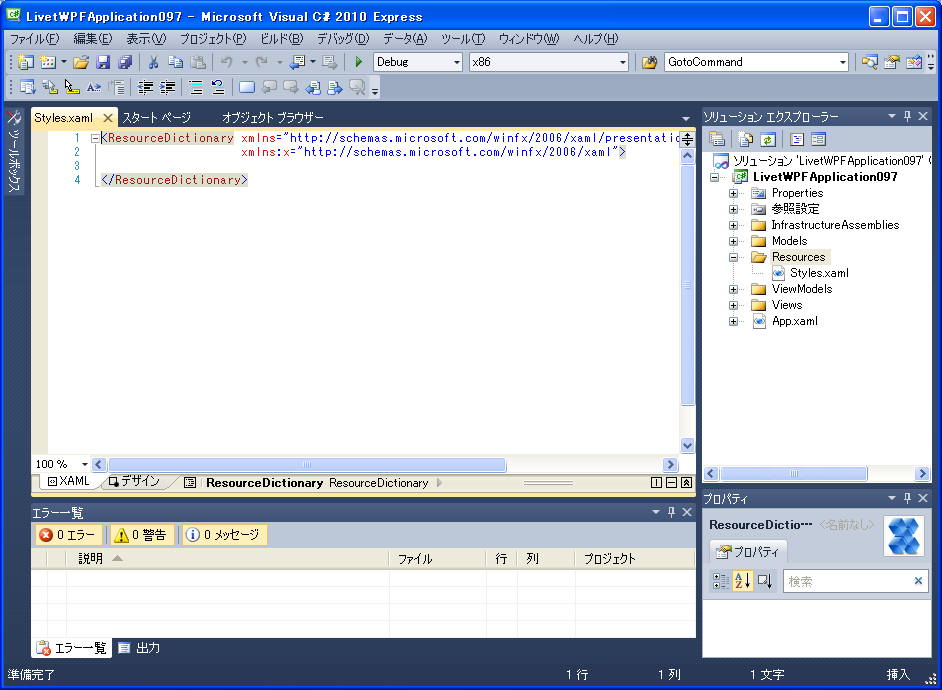
内容を入力します。
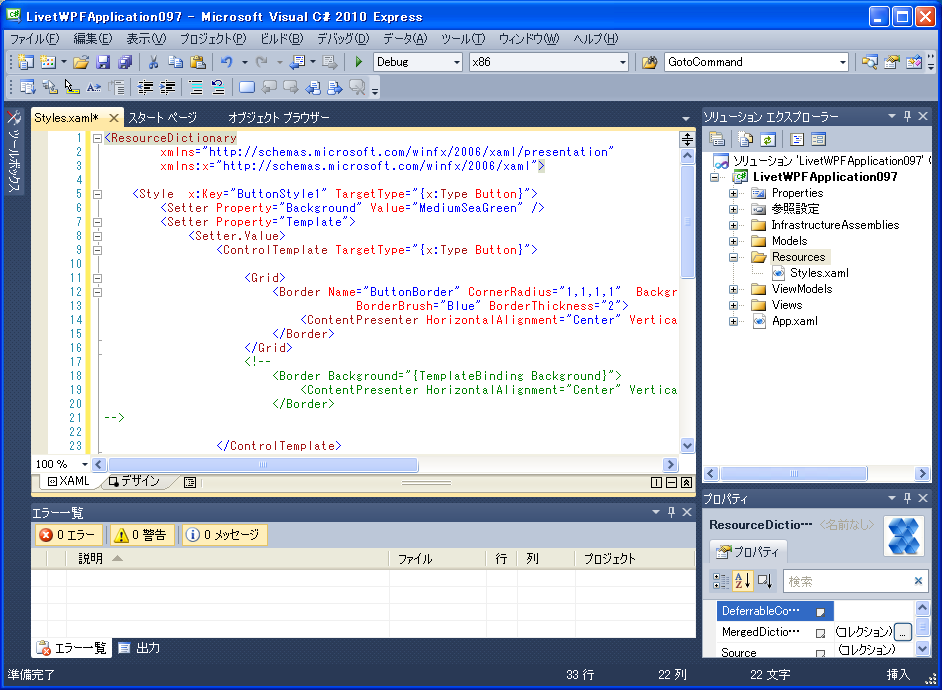
Styles.xaml
<ResourceDictionary
        xmlns="http://schemas.microsoft.com/winfx/2006/xaml/presentation"
        xmlns:x="http://schemas.microsoft.com/winfx/2006/xaml">

    <Style  x:Key="ButtonStyle1" TargetType="{x:Type Button}">
        <Setter Property="Background" Value="MediumSeaGreen" />
        <Setter Property="Template">
            <Setter.Value>
                <ControlTemplate TargetType="{x:Type Button}">

                    <Grid>
                        <Border Name="ButtonBorder" CornerRadius="1,1,1,1"
                        	Background="{TemplateBinding Background}"
                                    BorderBrush="Blue" BorderThickness="2">
                            <ContentPresenter HorizontalAlignment="Center"
                            	VerticalAlignment="Center" />
                        </Border>
                    </Grid>
                </ControlTemplate>
            </Setter.Value>
        </Setter>
        <Style.Triggers>
            <Trigger Property="IsMouseOver" Value="True">
                <Setter Property="Background" Value="DarkGoldenrod" />
            </Trigger>
        </Style.Triggers>
    </Style>

</ResourceDictionary>